Nov 6th, 2010 Posted in Blog | Comments Off
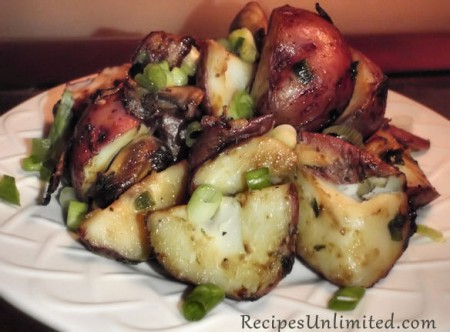
Good morning!! It’s November 6th. When did November happen?? Christmas is next month. The months and years fly by faster with every year I get older.
So what do yall have planned for this weekend? We are kinda just hanging out. LSU plays Alabama this afternoon (Geaux Tigers!!!). Matthew has a Lego thing he wants to go to and then I believe it’s game night here tonight:) We’ll order pizza and then we picked up a couple of new games this week. Tonight we are going to do the Lego Creationary:) Looking forward to that:) I NEED to get myself up and put a couple of things together I’ve been wanting to do. 1 is another roll recipe and the other is my Aunt Ruth’s Mexican cornbread:) I love it. It’s so cold out though. Paul and I are sitting here listening to Sarah Brightman and I’m so comfy. Don’t want to get up and do anything. Can you believe some people around us got snow?? How crazy is that? Like I said, when did November happen?
Today’s recipe is for the picture above:) Redskin Hash-Browns. Paul and I LOVE these. Melt some cheese over the top at the end and a side of sour cream, YUMMMMM-OHH:) Have a great weekend and yall enjoy!:)
OK, HERE’S What You Need:
1/2 stick of butter (cause butta makes everything betta:)
1 pound Petite Redskin Potatoes (scrubbed)
1 small yellow onion chopped (or about a cup of frozen diced onions. That’s what I use)
1 bunch green onions (snipped)
1 pound of mushrooms (cleaned and sliced thick)
Optional – sour cream and grated cheddar:)
HERE’S What You Do:
Cut up your potatoes. Half them but if they are to big 1/3rd them. You want about 3/4 inch – 1 inch chunks.
Start out with a large skillet. Melt your butter and a tad of olive oil to keep yourbutter from burning. Throw in your yellow onions and potatoes. Shuffle them around in your pan to get them all buttery:) Cook down for about 10 minutes and then throw your mushrooms and half of your green onions over in there. At this point I put some tinfoil over the skillet and let them do their thing for about 30 minutes – making sure to check it and shuffle them around about every 6 or 7 minutes. Don’t want to do to much to them because you don’t want them to break apart completely. Like them to have a little bit of a scuffed up looked but not turning to moosh. (Hope I’m not losing yall with all these technical terms:) When nice and tender and brown, sprinkle some fresh green onions over and serve. OR, throw that cheddar I was talking about over the top and pop under the broiler til it gets all melty and bubbly. Bring out the sour cream and enjoy:)
Tags: breakfast, flannel, hash browns, potatoes, recipe, red, side dish
Nov 2nd, 2010 Posted in Blog, Snackies | Comments Off
How is everyone? We are winding down. Jamie has been gone all afternoon. He had an after school program and then ran home for 30 minutes and gobbled down a bowl of Spaghetti O’s and then was off again for choir practice. Matthew had swim and Sarah sat here in the family room eating popcorn, drinking hot chocolate and watching Hoarders. Looks like now, we are about to watch the latest Doctor Who:) I think it’s the season finale (here in the US). The kids are all fed and I’m working on mine and Paul’s – Beef Bourguignon jeux poker video gratuit 
So, Paul’s a huge snacker. He loves his snackies. I think, though, his favorite would be the tortilla chips I make him. They really are a no brainer. About 12 years ago, I went to a Christmas party and the hostess had made her own chips. I have to say I was so impressed, even after I saw how simple it was. Since then, it’s what he wants between 10:30 p.m. and midnight for his snack:) Enjoy!:)
OK, HERE’S What You Need:
Package White Tortillas
Oil
Salt
HERE’S What You Do:

Yep, that's 11:20 P.M. The things I do for my husband...
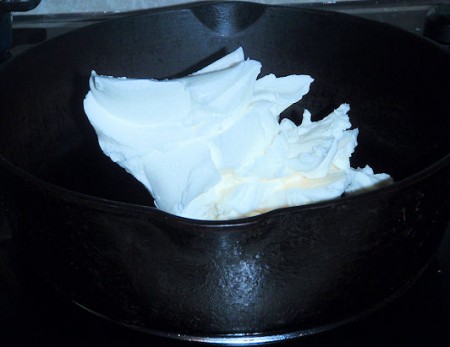
Melt your shortening in a skillet - probably about 3 inches. (I love my big black skillets;)
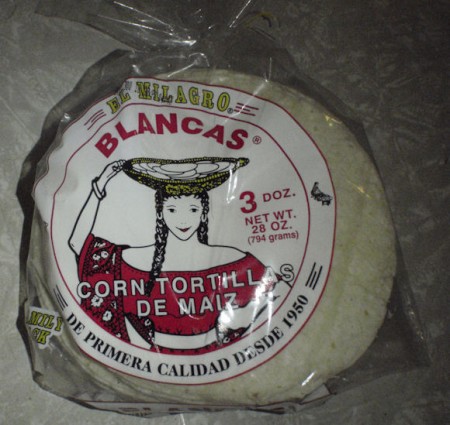
Blanca  I guess you could use Amarillo but I use Blanca
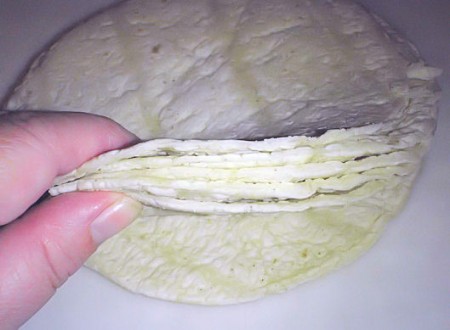
About this many.
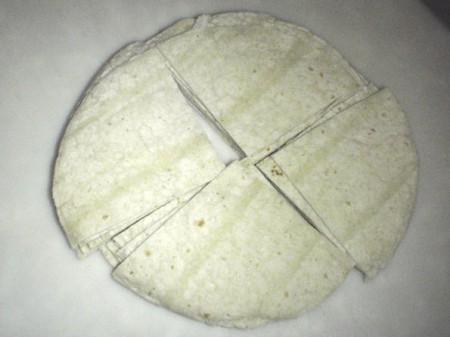
Cut into quarters.
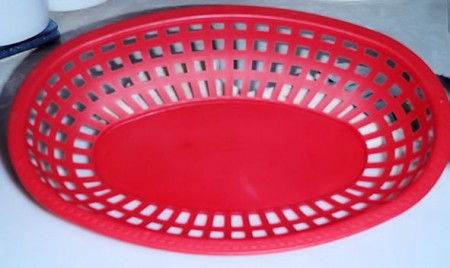
This is the official "chip" basket. Yeah, I think it's probably one of those old DQ baskets from way back when. Throw some paper towel over in there.
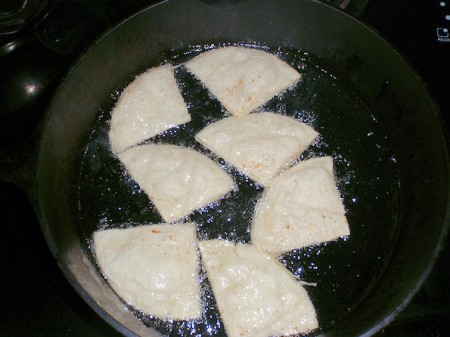
Put a few at a time into your grease. Don't crowd. I use tongs to fry with. The first batch may take a bit longer (not TO long mind you!) than the second and third batches. Turn often You can start to feel them harden. It literally only takes less than a couple of minutes for each batch. When you take them out, make sure you let them drain really well. Nothing is worse than scalding grease pouring out onto you.... Just ask Paul:(
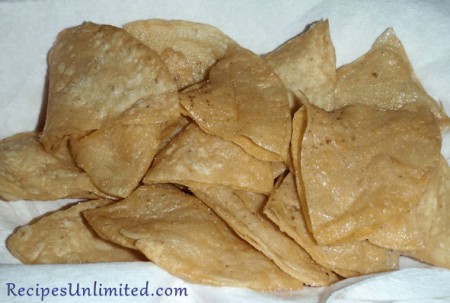
Salt generously and munch away:)
Tags: blanca, chips, fried, recipe, snack, snackie, tortilla
Nov 1st, 2010 Posted in Blog | Comments Off
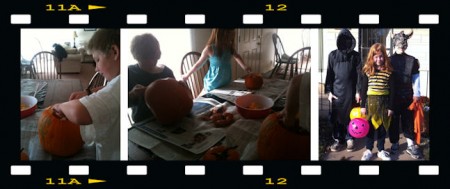
Good morning;) How was everyone’s Halloween? The kids had a great time. We started out by doing our pumpkins yesterday morning. They were so cute:) Sarah went with the neighbors, MyMatthew and Jamie both went with friends. Paul and I stayed behind here at home and passed out candy (and have hot chocolate ready for our’s when they came home:). My GOSH we had a lot of kids!! I bet we EASILY had over 150. We’ve never had that many. We gave out all of our goodies and even had to raid the kids’ stuff to supplement. How crazy is that? It was really cold too. Paul and I were bundled up. People up and down the streets had their bonfires going. We thought about it but we were just worried about kids in costumes getting to close. Afterwards, we went to see a pumpkin display and then out to supper;) So it was a fun day:)
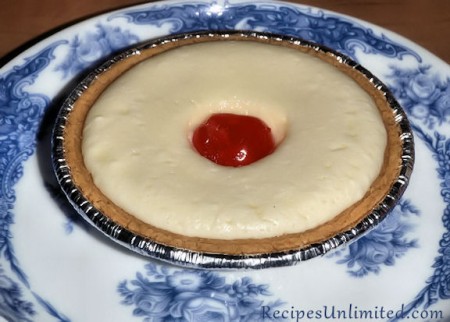
The recipe I’m sending out today is for little Petite Cherry Cheesecakes. Paul isn’t a fan of vanilla wafers so I made him a few in these little crusts. And for the rest, I used Oreos:) Talk about good! Give them a try and let me know what yall think:) Enjoy!!
OK, HERE’S What You Need:
16 ounces cream cheese, softened
¾ cup sugar
2 eggs
1 tablespoon lemon juice
1 teaspoon vanilla
24 vanilla wafers
1 can (21 ounces) cherry pie filling (or just a candied cherry for on top:)
HERE’S What You Do:
Beat first five ingredients until light and fluffy. Line small muffin tins with paper baking cups. Place 1 vanilla wafer in bottom of each tin. Fill cups 2/3-full with cream cheese mixture. Bake at 375 degrees for 15-20 minutes until set. Top each with 1 tablespoon pie filling. Chill. Makes 24 cakes. Preparation time: approximately 25 minutes
Tags: cake, cheesecake, cherry, desert, oreo, petite, recipe, vanilla wafer
Oct 28th, 2010 Posted in Blog | Comments Off
Good morning! Ok, Autumn has arrived! It’s a very crisp morning. LOOOVE it:) Just got the kids off to school. Since it’s so chilly out, I woke the kids up with hot oatmeal. They LOVE the Quakers Apples and Cinnamon. Between them, they ate 7 packages! I had to smile at Jamie though. Jamie’s favorite thing to wear is his flannel lined pants/jeans. So I stuck them in the dryer to warm them up before I gave them to him. So he got up to his warm pants and his favorite oatmeal. When he sat down at the table he looked at me with the biggest smile (and so sincerely) said, “Could this day get any better??”. Just did my heart good:) 2 small things and his day was made:)
Yesterday after school, Jamie’s middle school had their Halloween Dance. I don’t know what happened with my baking. I made Nigella’s Hokey Pokey and TRIED to make Powder Puffs. I’ve made both plenty of times. Never a problem. However, yesterday, my Hokey Pokey never got hard (it’s like Honey Comb). Not only did it not harden, but by last night, it looked like it had melted. Then, my Powder Puff cakes were flat as a flitter. I’m baffled. I know that humidity effects baking and such but for the last few days, it’s been really windy and the barometer has been very low. I was just glad I also made the Buckeye Peanut Butter Balls. Thankfully, they turned out fine. The kids seemed to have a great time (and they bought the peanut butter balls up!). I met a couple of Jamie’s teachers and they just made me feel so good:) They both told me that Jamie is the most mannerly child they have ever met and he’s a delight to have in their class:) His Science teacher actually said she’d never had a student with such wonderful manners:) *happy dance*  Now, as a parent, I was just glowing inside:) So, so proud:) Still smiling today about that:)
Ok, enough being proud and onto recipes!:) My neighbor, Amy, sends down her ham bones when she makes one. So I pulled one out of the freezer the other night and made a big old pot of baby limas:) I think baby limas are probably, my favorite veggie, EVER:) If you have a spare ham bone, give it a try:) Enjoy!!
OK, HERE’S What You Need:
Lima beans
ham bone
seasoning (if needed- I didn’t need anything extra)
small yellow onion (chopped)
butter
water
big pot:)
HERE ‘S What You Do:
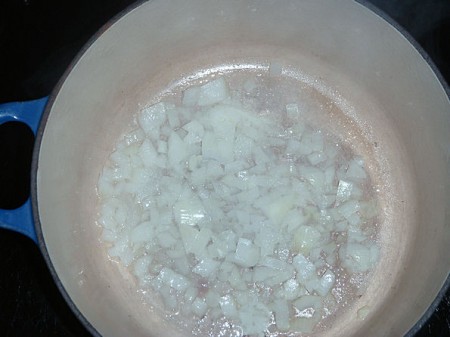
Chop your onion and saute in some butter.
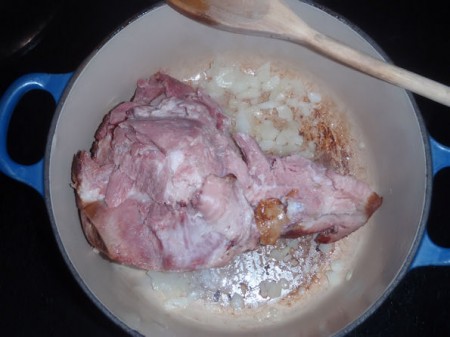
Add that de-lushious ham:) Amy does her's like I do, with a sweet glaze. I'm getting plum excited just typing about this recipe! Add your water to just cover the ham bone and let it boil and boil. I probably boiled this one a couple of hours. Add water when needed.
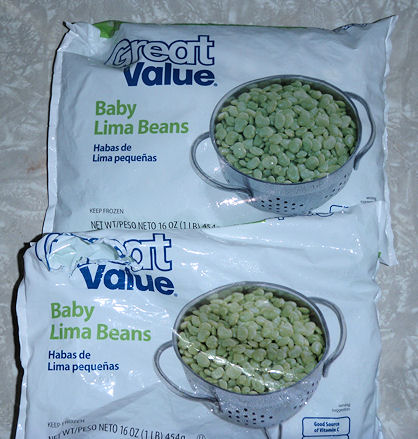
After a little boil time throw in your Limas;) I used a bag and a half (one I had already used part of).
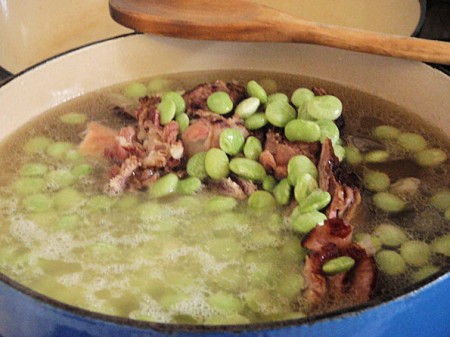
I'm totally going to have to make some more super soon! Doesn't that look amazing?? *wipes drool from her key board* Cook these babies down for about an hour and a bit. Make sure of the water though. You don't want them to stick and burn. I didn't have to add any seasoning at all:)
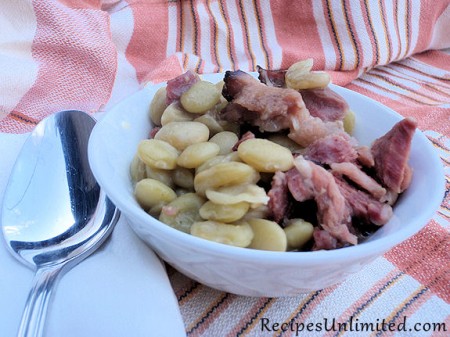
I pulled some of the ham off the bone to serve. I was so excited by the time these were done that I didn't even get to make any cornbread to go with it! It's a good southern meal on it's own:) Enjoy yall!
Tags: ham bone, lima beans, onions, recipe, vegetables
Oct 23rd, 2010 Posted in Blog | Comments Off
Hello! What a nice week it’s been. I love having the kids home. I know some parents look forward to the kids getting back in school, but I’m not one of those. I love having the whole family here. If I thought I was disciplined enough, I’d probably home-school.
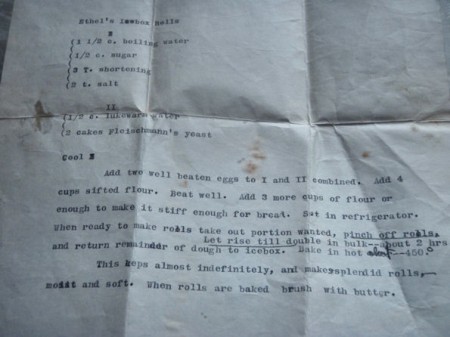
So, this week I’ve been going through my Great Grandma Fry, Great Aunt Kathryn and Grandma’s recipes. They are all from my daddy’s side of the family. I have to be very careful because some of these recipes seem to have come from even further than GG Fry. I have a few dated in the late 1800′s. Of course, you really can’t make them but it’s so cool to have them;) I love heirloom recipes. They make me so happy:) I wish I had some from my momma’s side but I honestly don’t think anyone cooked with any recipe. It was all in their heads. That’s a lot like me though. I know what it’s supposed to look like, feel like, sound like when it cooks. You just know. Maybe that’s just the good old southern way:) I call my Aunt Ruth to ask her how she makes something, and she’s like, “Well, just take a bunch of these and some of that… Just put it in your skillet and cook it down…  ” Now, you talk about a good cook? I’ve never eaten anything of her’s that I didn’t just love. I’ll tell you more about her another time though. I’ve got several of her goodies to share with yall;) So anyway, I was going through this box ( these were all in an ooooold brown book that was held together by a dry rotted rubber band. So needless to say, it broke. I now have them in a plastic box with a tight fitting lid.) I came across this recipe and I am guessing it was one of my Grandma’s (Daddy and Aunt Kathy’s mom’s) because it was typed. She typed most things. Maybe it was because she was an aurthress or the fact she was a librarian (card catalogs and all:) The recipe is for Icebox Rolls. Now, last night, when I was making these, I did not hold out much hope at all. The recipe is odd (to me at least). I told Paul this morning that I was glad that I took pictures of it as I went a long because I was sure it was going to be a flop. So, I baked some off last night. I even told my friend Terri, that the recipe was looking pretty grim. The rolls I baked last night (as soon as I made the dough) were a little on the flattish side, nice flavor but flattish. Anyway, so I put the rest of the dough in the fridge and tried again this morning. I did clover rolls this time. OH MY!! What a difference over night in the fridge makes:) They are absolutely lovely:) They are dense but not to dense. I am guessing this is why they are called “Icebox Rolls”
  Mrs Ethel says, they make “Splendid” rolls and Splendid they are:) They didn’t really rise until I began baking them – even though they’d been out of the icebox for about 2 hours. Give this one a try but make sure you leave them overnight in the fridge:) Enjoy!!
OK, HERE’S What You Need:
1 1/2 C. boiling water
1/2 C. sugar
3 T. shortening
2 tsp. salt
****In a separate bowl****
1/2 C. lukewarm water
2 cakes yeast
HERE’S What You Do:
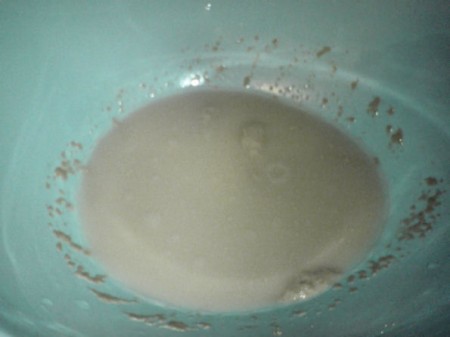
Combine your lukewarm water and yeast in one bowl.
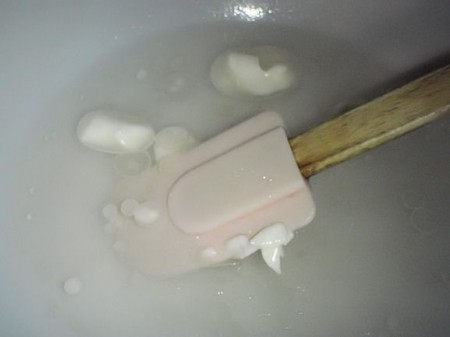
In a separate bowl, combine boiling water, Crisco, salt and sugar.
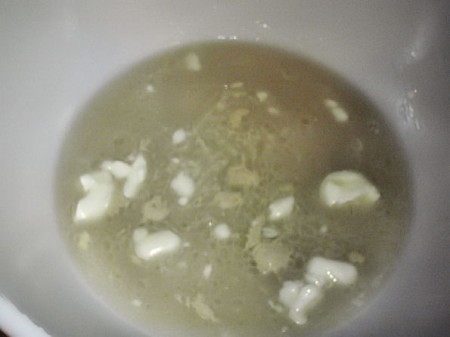
Let the boiling water cool a bit and then combine the two bowls. Cool a bit more. This is where I just KNEW it wasn't going to work out. I almost just chucked it and said forget it.
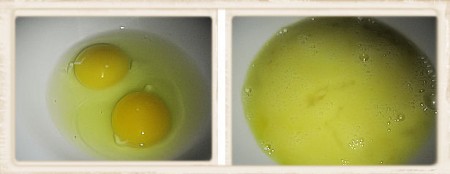
Take two eggs and beat well.
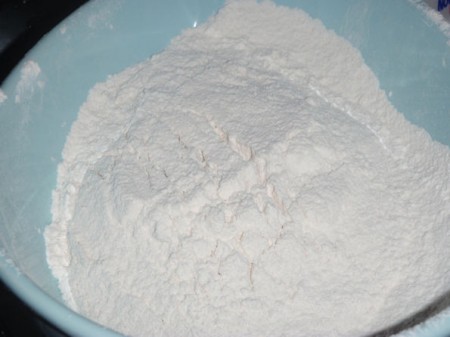
Add 4 cups sifted flour.
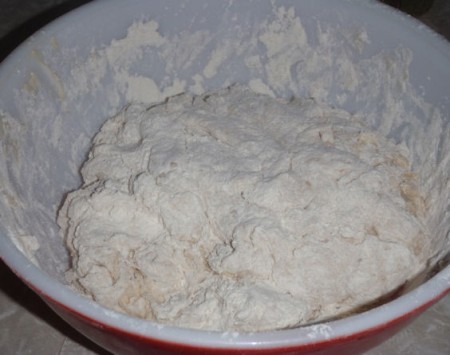
Mix well. Add 3 more cups of flour to form a stiff dough. It's not real pretty here either. I put it in a lightly greased bowl and turned it over to let it set for a while -- really, I didn't read the part where it said to go on and put it into the fridge. Oops:)
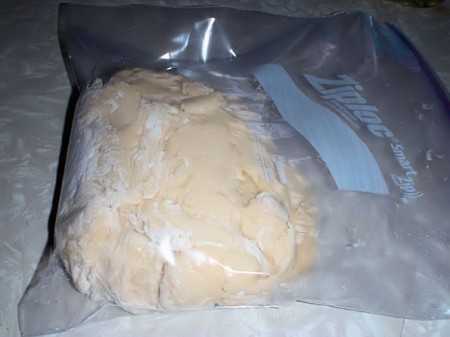
So, once I realized that I didn't have to let it rise before I put it into the fridge, I took it out of the greased bowl and put it into a Ziploc and put it into the fridge.

2 hours before you need the rolls, pinch off what you need and form your rolls. I did clover leaf. Bake in a very hot oven (450 F) til golden. Melt butter over the top as soon as they come out of the oven. These are just delicious:)
Tags: bread, Ethel, heirloom, icebox, muffins, recipe, refrigerator, rolls, splendid, yeast


